.webp)
That first stretch of time after your hip replacement surgery really does lay the groundwork for your entire recovery. The focus in these initial days is pretty straightforward: get your pain under control, start some gentle movement with the physios, and learn what to look out for as your body begins to heal. Nailing these first 72 hours doesn't just set you up for success; it builds your confidence for a much smoother transition back home.
Waking up in the recovery room is where it all begins. While everyone’s experience is a little different, the first few days follow a well-trodden path designed to keep you safe and kick-start your healing. Your medical team’s number one priority is making sure you’re comfortable and getting you moving as soon as it’s safe.
It can all feel a bit much at first, but you're in the hands of experts who do this every single day. Here’s what you can generally expect:
Getting post-operative pain under control isn't just about feeling better—it's what allows you to actually take part in your recovery. If pain isn't managed well, it’s almost impossible to sleep, eat, or do your physio exercises, all of which are vital for healing. Your team will tackle this from a few different angles.
Often, it starts with a regional anaesthetic, like a nerve block, which can give you fantastic relief for the first 12-24 hours. As that starts to wear off, you’ll be moved onto a regular schedule of oral painkillers. It is so important to take these as prescribed, even if you feel okay at that moment. Staying ahead of the pain is always more effective than trying to chase it down once it’s become severe. If you want to understand more about these methods, you can find great guides on nerve block procedures for pain relief.
A common mistake is waiting until the pain is bad before taking medication. Being proactive is the key. It keeps you comfortable enough to rest properly and, just as importantly, to participate in those crucial early physiotherapy sessions.
It sounds like a huge ask, but the physiotherapy team will probably aim to get you up on your feet within the first 24 hours. This early movement is one of the most important things you can do to ward off complications like blood clots or chest infections.
That first walk will be short and sweet, fully supported by a physio and a walking frame or crutches. They’ll show you exactly how to stand up, sit down, and take those first few steps while protecting your new hip. These initial sessions aren’t about covering distance; they’re about rebuilding your confidence and learning safe ways to move.
Making sure the transition from the hospital back to your own home is seamless is a huge part of recovery. Arranging proper home care after hospital discharge can make an enormous difference, ensuring you have the right support to keep your progress going safely. Getting your home ready before the operation is a small step that pays off massively when you get back. This early focus on moving, paired with good pain control, sets a really positive and proactive tone for the rest of your recovery journey.
Bringing you home from the hospital is a huge milestone, but preparing your space beforehand can make all the difference in your recovery after hip replacement. Creating a safe, convenient environment isn't just about comfort; it’s about actively cutting down risks and giving you back a sense of independence. A few smart adjustments can turn your home into a recovery haven.
The main goal here is simple: minimise the chance of a fall. Your balance will be off for a little while, and your mobility will be limited by both the surgery and the walking aids you'll be using. A bit of prep work now can prevent a major setback later.
Your first job is a strategic declutter. You need to look at your home through the eyes of someone trying to get around with a walker or crutches. That hallway that feels a bit narrow or that cosy living room setup can suddenly feel like an obstacle course.
Start by clearing the main routes you'll use most often—from your bedroom to the bathroom, and from there to the kitchen or living area. Get rid of any potential trip hazards.
This means:
Think about your furniture, too. You might need to temporarily rearrange the living room to give yourself a better turning circle. It’s a small, short-term hassle for a massive long-term gain in safety.
For the first week or two, you're going to be spending a lot of time resting. It's a great idea to set up a dedicated 'recovery station' where you plan to spend most of your day. This could be a supportive armchair or a spot on the sofa. The trick is to have everything you need within arm's reach to stop you from getting up and down unnecessarily.
Setting up a dedicated recovery spot is one of the best pieces of advice for the early weeks. It reduces fatigue, limits risky movements, and keeps you from feeling isolated or frustrated when you need something simple.
Your station should have a sturdy table right next to your seat, stocked with all the essentials:
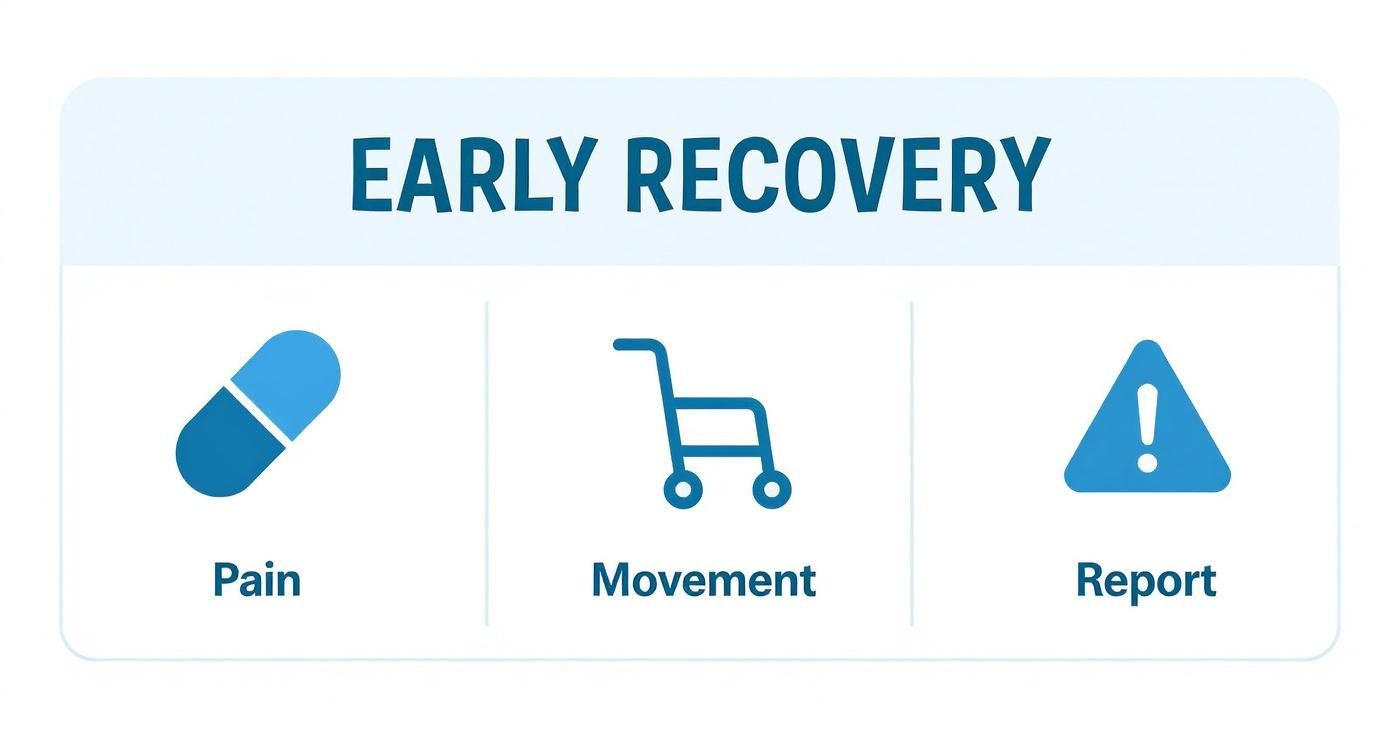
This infographic gives a brilliant summary of the key things to focus on right at the start of your recovery.

It’s a great visual reminder that managing pain, moving safely, and speaking up if you have concerns are the real foundations for a successful recovery journey.
The bathroom is, statistically, one of the riskiest rooms in any home, and that's doubly true during recovery. Bending low and navigating wet, slippery surfaces are particularly dangerous moves after a hip replacement. It's wise to consider specific bathroom remodeling for elderly loved ones to really boost safety and independence during this crucial time.
A few pieces of equipment are simply non-negotiable for keeping you safe. To help you decide what you truly need versus what’s just nice to have, we’ve put together this quick guide.
Recovery AidPrimary PurposeRecommendation LevelRaised Toilet SeatPrevents bending the hip past 90 degrees, reducing dislocation risk.EssentialShower Chair/Bath BenchAllows you to wash safely while seated, preventing slips on wet surfaces.EssentialGrab BarsProvides sturdy support for getting in/out of the shower or up from the toilet.EssentialLong-Handled GrabberHelps you pick up items without bending over or stretching dangerously.Highly RecommendedLong-Handled SpongeEnables you to wash your lower legs and feet without breaking hip precautions.Highly RecommendedSock AidA simple tool to help you put on socks without excessive bending.Optional (but very helpful)Elastic ShoelacesTurns lace-up shoes into slip-ons, removing the need to bend to tie them.Optional (but very helpful)
Having the essential items in place before you even leave for the hospital is a game-changer. The others, while optional, can make those first few weeks feel significantly easier and less frustrating.
Many modern assistive devices offer fantastic support, and it's worth seeing how these tools can help you. You can learn more about the role of assistive technology in healthcare access to see what other options might work for you. By taking these steps before your surgery, you create a supportive home environment that builds confidence and keeps your recovery firmly on track.
The first six weeks after your hip replacement are where the real work begins. Think of this period as laying the foundation for your long-term mobility and success. The consistency you put in now directly impacts how well you regain strength, flexibility, and confidence in your new joint. This phase is all about purposeful, gentle movement.

This initial period is carefully managed by your physiotherapy team. Their goal is to get key muscles that support your hip—like the glutes and quadriceps—firing again without putting the new joint under any undue stress. Every exercise has a purpose, designed to improve your range of motion and build the stability you need for walking, climbing stairs, and eventually, getting back to what you love.
Your physio journey starts right away, often with simple, controlled movements you can do while still in bed. These aren’t meant to be strenuous; they’re all about boosting circulation, preventing stiffness, and gently waking up the muscles around your new hip.
A typical early-stage exercise programme often includes:
As you get stronger, your physiotherapist will introduce more challenging exercises. Working with a dedicated professional is non-negotiable here—they ensure you're performing each movement correctly and progressing at a safe pace. For expert guidance, exploring comprehensive physiotherapy services at The Vesey can provide the structured support you need during this critical time.
It’s completely normal to hit a few frustrations during these initial weeks. Swelling and fatigue are the two most common complaints I hear from patients, and managing them effectively is a massive part of your recovery.
Swelling is just your body's natural response to the surgery. To keep it in check, consistent icing and elevation are your best friends. Aim to get your leg elevated above heart level several times a day, especially after your exercise sessions. A cold pack for 15-20 minutes at a time will also do wonders for discomfort and inflammation.
The fatigue can be a real surprise. Your body is channelling a huge amount of energy into healing, so feeling wiped out is expected.
Listen to your body. Pushing through exhaustion is counterproductive. Plan for short bursts of activity followed by proper periods of rest. This approach helps you build stamina without overdoing it.
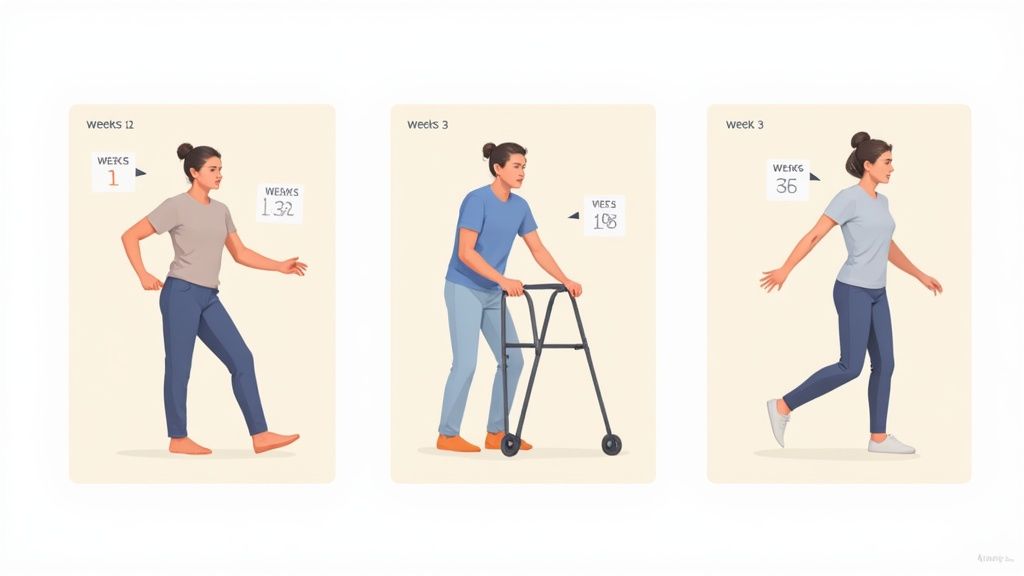
A major milestone in your recovery is gradually coming off your walking aids. This process is a clear sign that your strength and stability are returning. I promise you won't be on that walker or crutches forever.
The typical progression looks something like this:
This progression happens at your own pace, always guided by your physiotherapist. There’s no race to the finish line; the goal is to move safely and correctly at each stage. Rushing this can lead to a limp or other bad habits that are much harder to fix later on.
Finally, one of the most critical parts of the first six weeks is sticking to your hip precautions. These are the hard-and-fast rules about movements you must avoid to protect your new joint from dislocating while the surrounding tissues heal.
While precautions can vary slightly depending on your surgeon’s technique, the most common ones include:
Getting into a car is a classic scenario where these rules come into play. The safest way is to back up to the passenger seat, sit down first, and then carefully swing your legs into the car as one unit, keeping them straight. Mastering these precautions in everyday life is essential for protecting the investment you've made in your new hip.
Hitting that six-week mark feels like a real turning point. Pain is easing, your confidence is growing—and suddenly you’re dreaming about the garden, the pool, or a weekend stroll without that nagging reminder of surgery.
It’s tempting to dive straight into everything you love, but think of this phase as a careful comeback tour. You wouldn’t leap into a full gym session after months away, so treat your new hip the same way: steady, measured steps towards full activity.
Getting back to hobbies is one of the most rewarding parts of recovery. These general timeframes can help you plan, but always follow the guidance from your surgeon and physiotherapist.
Always warm up with a few gentle stretches and cool down with slow movements. And pay attention: if sharp pain crops up, it’s your body telling you to pause and rest.
Trying to do too much, too soon is a recipe for setbacks. Short, 10–15 minute bursts build endurance and confidence.
Today’s hip implants are built to last. Advances in materials—from highly cross-linked polyethylene to ceramic and hardy metal alloys—mean most devices withstand decades of use.
Real-world numbers confirm this. According to the National Joint Registry of the UK:
You can dive deeper into the full NJR report to see how these implants perform over the long haul.
Protecting your hip for years to come is simpler than you might think:
Stick to these sensible habits and your hip replacement will keep you moving comfortably well into the future.
While a modern hip replacement is a fantastic operation, a smooth recovery means being an active participant in your own health. The key is knowing the difference between what's normal during healing and what might be a sign of a problem. This isn't about causing alarm; it's about giving you the confidence to act quickly if something doesn't feel quite right.

Your surgical team will give you a list of warning signs, but it helps to have them clear in your own mind. Always trust your instincts—if you feel that something is wrong, it’s far better to make a call and be reassured than to ignore a potential issue.
An infection is a rare but serious complication, so spotting the signs early is crucial. A bit of redness, swelling, and warmth around your incision is a normal part of the healing process. However, some symptoms are definite red flags that need immediate attention from your medical team.
Keep an eye out for these specific changes:
Deep Vein Thrombosis (DVT), a blood clot in the leg, is a risk after any major surgery. Getting up and moving is the best prevention, but you still need to know the symptoms. A DVT needs urgent medical assessment because it can lead to more serious problems if left untreated.
Symptoms of a DVT usually show up in just one leg and include:
If you spot these signs, contact your care team immediately. For a deeper dive into this topic, have a look at our guide covering the diagnosis and treatment of Deep Vein Thrombosis.
Crucial Takeaway: If you experience chest pain or sudden shortness of breath, it could be a sign that a clot has travelled to your lungs (a pulmonary embolism). This is a medical emergency—call 999 without a moment's hesitation.
Your relationship with the surgical team doesn't stop when you're discharged. Those regular follow-up appointments are essential for checking on the long-term health of your new hip, particularly if you’re younger and more active.
Revision hip replacement surgeries are a major clinical challenge. Data from the UK's National Joint Registry identified 29,010 revision procedures between 2003 and 2019. The risk of needing a second operation was higher in patients under 55. Of those who had a revision, 21.3% needed another one within 15 years, which really underscores the importance of ongoing care.
Attending your follow-ups means any potential issues with the implant, like wear or subtle shifts in position, can be caught early. This is what protects your mobility and keeps you moving well for decades to come.

It's completely normal for questions to pop up as you navigate your recovery, even with the most detailed plan in front of you. We've put together some of the most frequent queries we hear from patients to give you clear, practical answers and a bit of peace of mind.
The desire to drive again is a big one—it’s a huge step towards getting your independence back. Most surgeons will give you the green light at around the six-week mark, but this is just a guideline. It really comes down to your individual progress.
Before you even think about it, there are two non-negotiable boxes to tick. First, you must be completely off any strong, narcotic-type pain relief, as these medications can seriously slow your reaction times. Second, your operated leg needs to be strong enough to slam on the brakes in an emergency without a moment's hesitation. Always wait for your surgical team to give you the final go-ahead.
It's also worth a quick call to your car insurance provider. Let them know you've had major surgery and have been officially cleared to drive again. It’s a simple step that ensures you’re fully covered.
A good night's sleep is one of the best healers, but it can be a challenge with a new hip. For the first six weeks or so, the best and safest position is on your back. This keeps your body nicely aligned and prevents the new joint from moving into a position it shouldn't.
If you’re a dedicated side-sleeper and just can’t get comfortable on your back, there’s a safe way to do it. You can lie on your non-operated side, but you must place a firm pillow between your knees. This little trick is crucial—it stops your operated leg from crossing the centre line of your body, which is a key precaution we ask you to follow. For more tips like this, you'll find plenty of helpful details in our new patient information for joint replacement.
Once you’re past that initial six-week milestone and your physio has signed you off, your focus will shift from basic movement to building up strength and endurance. The best way forward is with low-impact activities. These protect your new hip implant while strengthening all the muscles that support it.
A few excellent choices to get you started include:
High-impact stuff like running, jumping, or any contact sports are generally off the table for now. They put a lot of stress on the implant and could shorten its lifespan. Always have a chat with your orthopaedic specialist before thinking about returning to more intense sports.
In short, yes, it almost certainly will. There’s absolutely no need to worry when it does. Today’s hip implants are made from high-quality metal alloys—things like titanium and cobalt-chromium—that airport scanners are designed to detect.
Airport security staff see this every single day. As you get to the scanner, just let one of the officers know you have a hip replacement. They'll know exactly what to do, usually guiding you to a full-body scanner or using a handheld wand. It's a routine and very quick process that adds maybe a minute or two to your journey.
